Hi everyone! Many of you asked me about how I made my Alexstrasza cape so here’s a short tutorial about it!
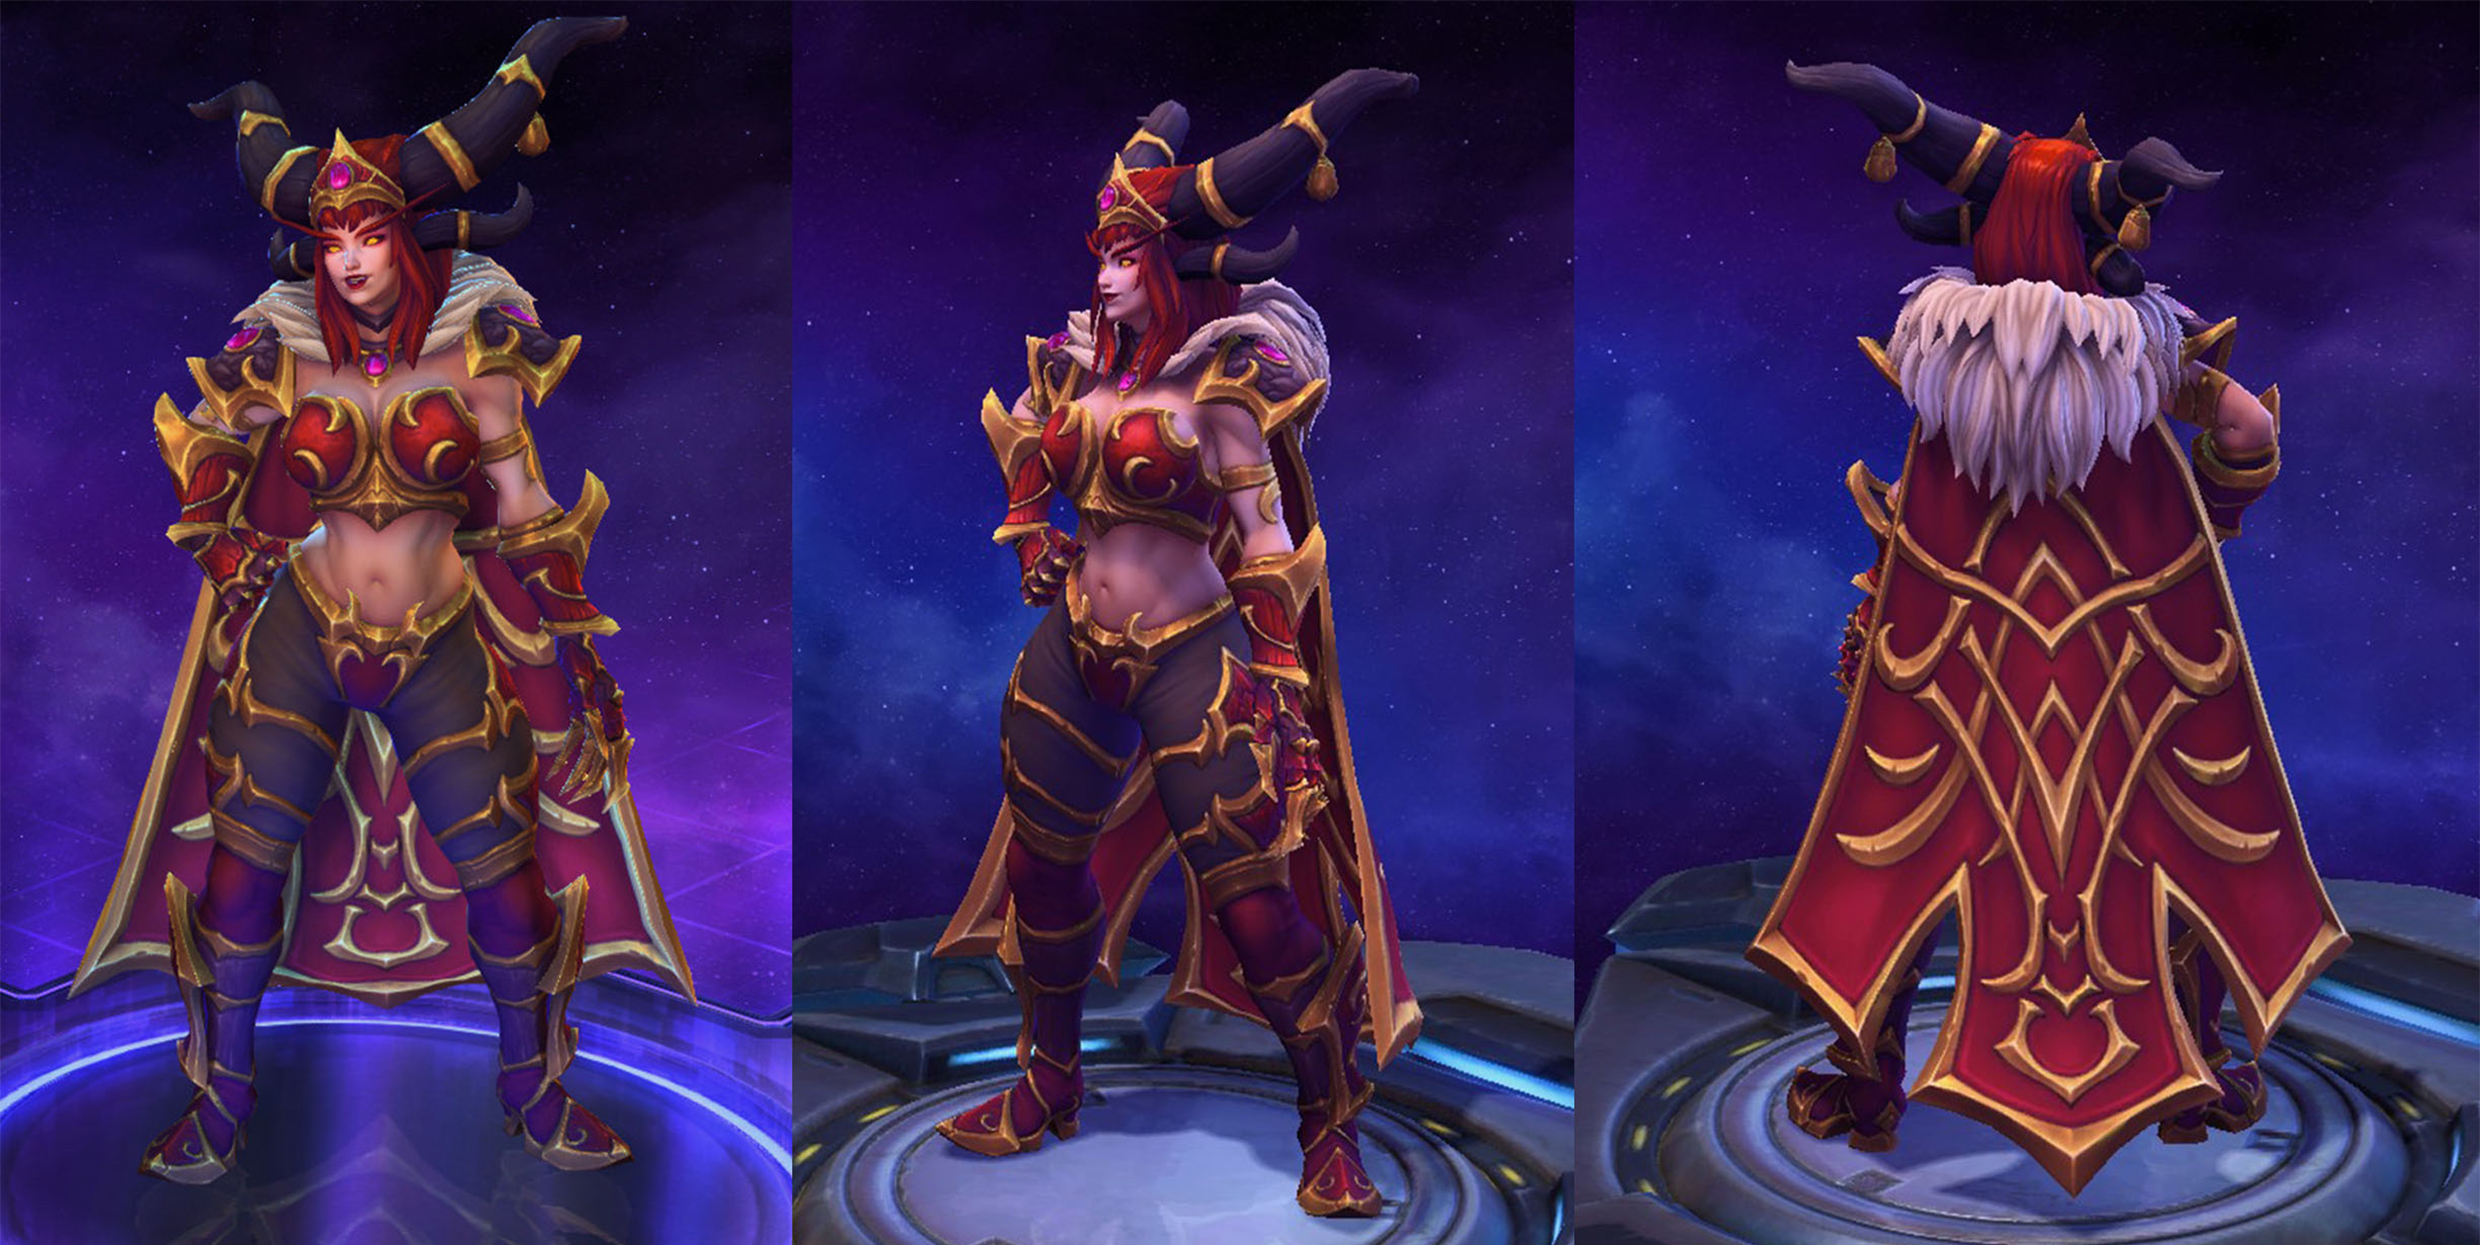
A lot of designs from World of Warcraft (WoW) and Heroes of the Storm (HotS) have clothes or capes with big “metallic” bevels on them. In my opinion it’s a bit hard to get this 3d effect just with fabric, so I decided to mix fabric and Eva Foam to achieve this look.
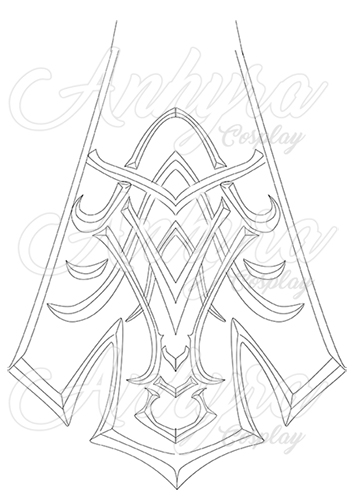
My first step was to get reference images and trace them in photoshop to make a nice digital pattern scaled to my height. I had to adjust a bit the pattern because in the reference images the cape is a bit bended in the sides.
I also printed it and tried it over my shoulders to make sure that the proportions were correct.
Once the pattern was ready I traced the whole outline and cut it in a pice of red cotton fabric.
>> You can buy here the pattern that I made ! – A printable blueprint designed for A4 paper <<
The most tedious thing about this cape is that it has bevels in both sides, so the next step was to cut out the bevel shapes in Eva foam twice. I used 1cm foam for the outside bevels and 5mm foam for the inside ones. I also used the precut bevels from Cosplayshop to make the straight ones on the sides.
Why I used different foam thickness? Because I didn’t want the cape to be super rigid. With this combination of 1cm and 5mm you can get a nice bevel shape and still get some cape movement (keep in mind that it won’t move like normal fabric, but I was trying to achieve the ingame look more than a realistic one)

Now…get ready to sand! It took me a LOT of hours to sand the bevels with my dremmel and get a smooth finish. They are not as spiky as the reference because of the foam thickness, but you can enhance it later with the paint.
I tried the bevels on the cape to see that everything was correct and once I was happy, I glued them to the fabric. (Remember to seal them with heat before sticking them because you don’t want to burn the fabric). I used contact cement to glue them and it worked fine. Just be careful and trace first where the bevels are placed because it’s very hard to remove the contact cement from the fabric.
Why I didn’t prime or paint the bevels before sticking them? Because I was in a hurry finishing this, I wasn’t sure if it was going to work and painting was the only thing that I could finish in my hotel room. Also when I glued both sides I had to made several adjustments sanding the edges. You should prime and paint at least the inner bevels before gluing them, don’t be as messy as me xD
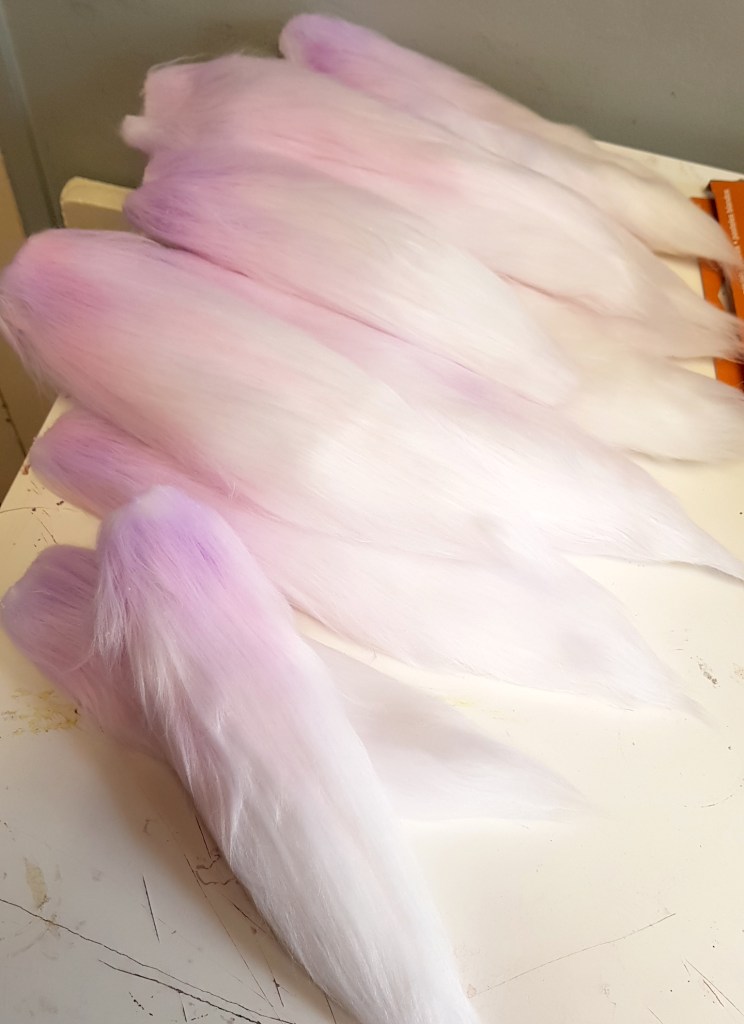
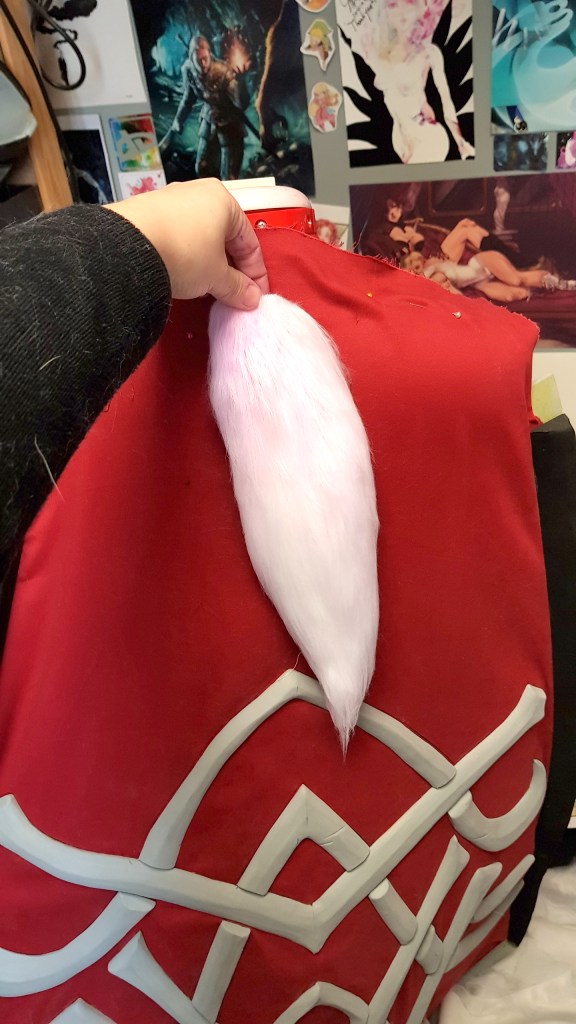


To make the fluffy top of the cape I used cheap furry fabric. I made a tail shaped pattern and filled each piece with wadding. To make the gradient color I used pastel chalks and brushed the hair to blur it. Then sealed it with some hairspray (this also keeps the hair in place but remember to bring the bottle to the conventions because hair can get messy during the day xD)

Time to paint! But before I brushed 2 layers of wood glue on the foam. To make sure you don’t stain the fabric cover it with masking tape. I didn’t do that because I was in a hurry but you definitely should. My favorite paint brand is Vallejo GameColor. They have a huge color palette! To get the gold color I used Tinny Tin, Bright Bronce, Pulished Gold, Hammered Copper and Game Ink in black. As I said before, I tried to enhance the bevels depth with paint, working on shadows and lights.
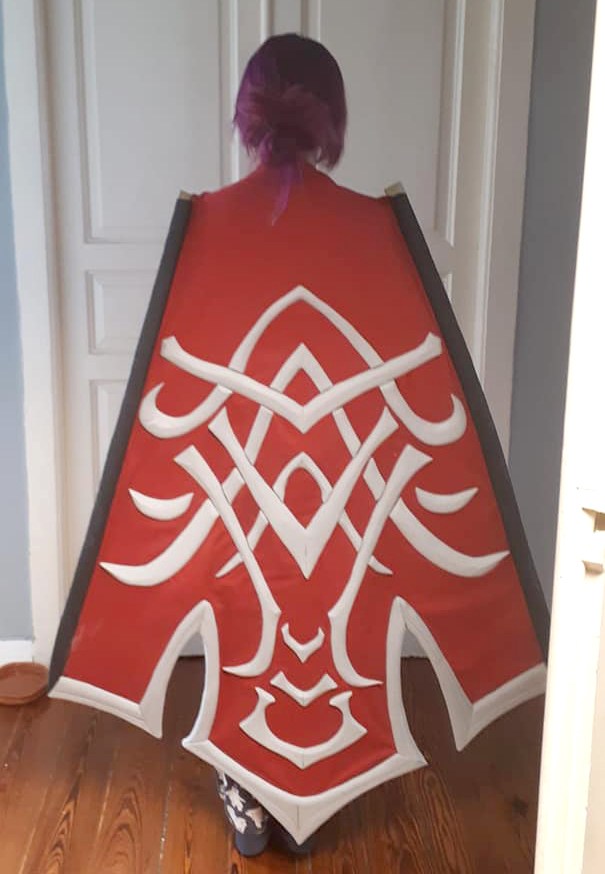
Finally to get a more 3d effect, i used a black pastel chalk on the fabric around the bevels to get even more depth.
And here is the final result! (Don’t forget to bring your hairspray if you travel with this, look how messy the hair looks after traveling 3 hours by car! hahahah)
I hope you find this tutorial useful and that you have learned from my mistakes ! If you want to support my work you can donate a ko-fi here! It helps me a lot to keep creating tutorials and new costumes.

Very cool!
I’m especially impressed with how pretty your paint job is, even though you did it AFTER you attached the foam to the fabric (I would have gotten wood glue and paint all over that poor cape…)
LikeLike